Yes, I’m already starting to think about back-to-school shopping, new schedules, and all the lunch box treats I’ll be making.
My daughter (my little foodie in training) has been absolutely obsessed with creating what she calls “cute tiny foods” this season.
Every weekend she’s in the kitchen wanting to make something “aesthetically pleasing” – her words not mine!
So, I thought, why not turn this into a fun little series on the blog? Welcome to our first edition of “Cute Finger Foods Series!”
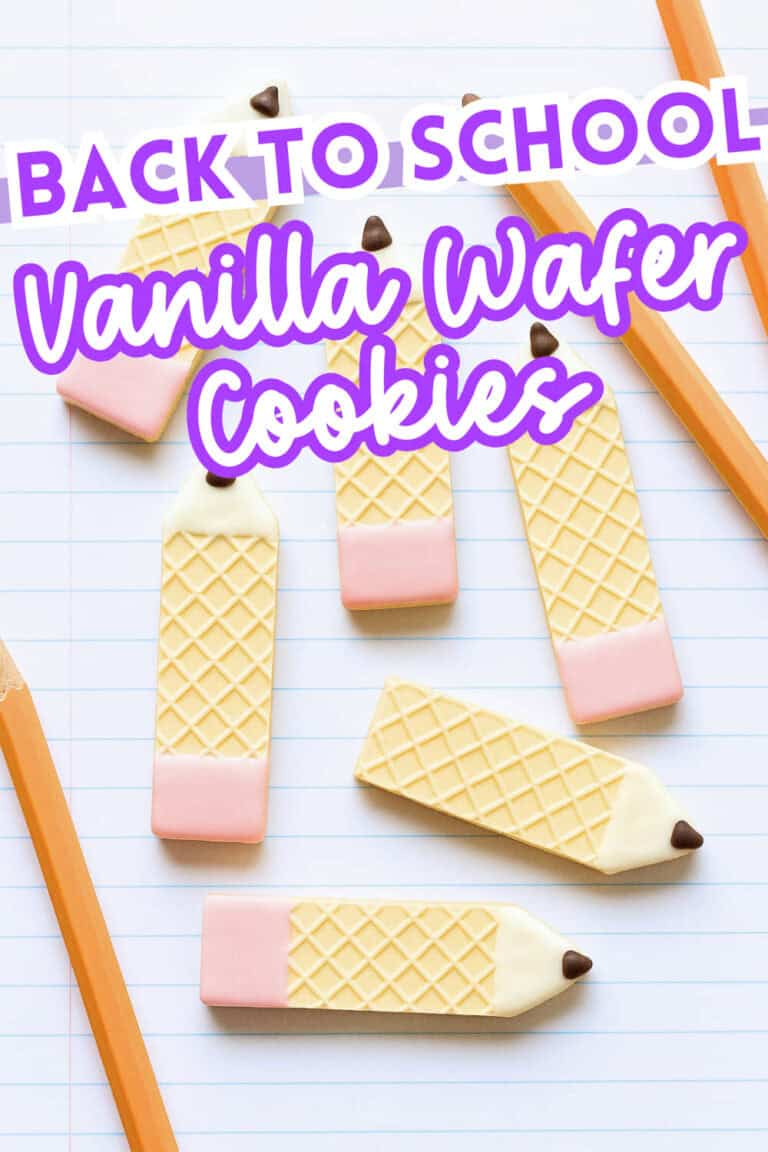
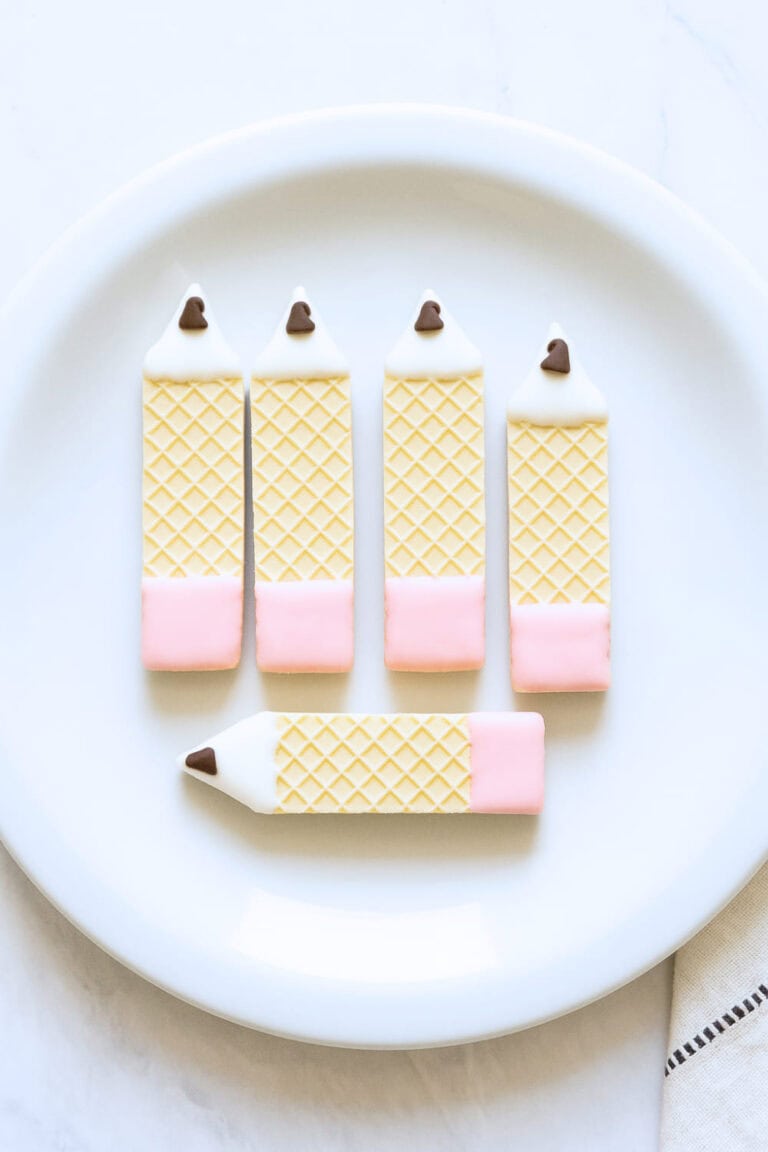
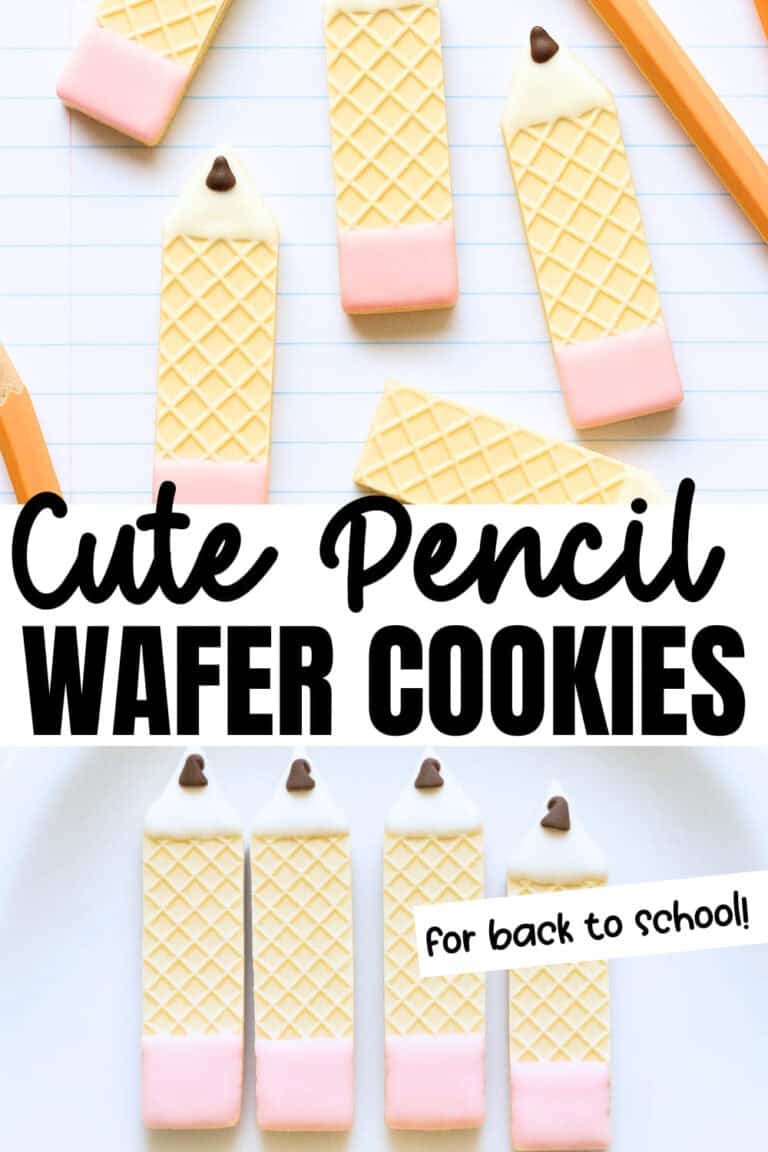
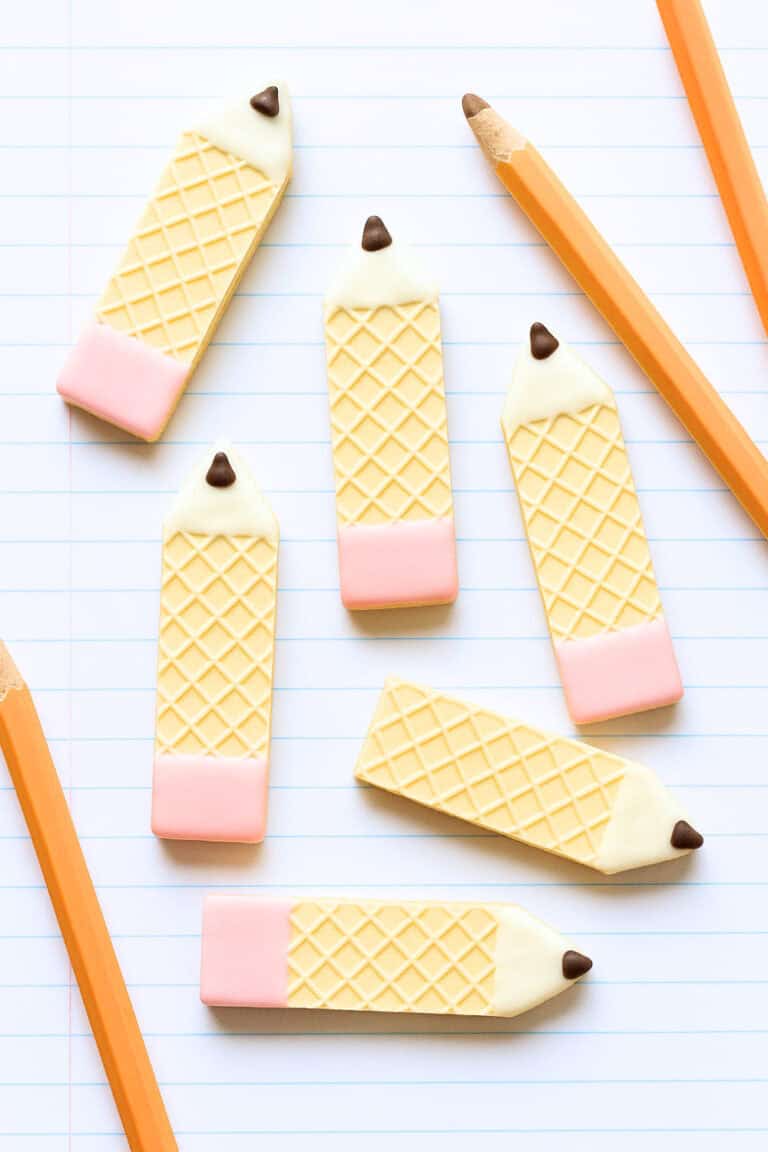
Today my daughter is sharing these super easy pencil wafer cookies that are perfect for back to school.
They take barely any time to make but look like you spent hours.
These little pencil cookies are not just adorable but they’re the perfect size for lunch boxes or after school snacks.
So, let her show you how easy these pencil wafer cookies are to make!
What You Need to Make Wafer Pencil Cookies for Back to School
- Vanilla Wafers – These are our “pencil” base! Any rectangular wafer cookie works.
- Bright White Chocolate Melting Wafers – These create our pencil “wood” part. The melting wafers harden so much better than regular white chocolate and give that smooth finish we want.
- Light Pink White Chocolate Melting Wafers – These make the cute eraser tops! You could also use yellow or any other color your kids like.
- Mini Chocolate Chips – These little guys are for the pencil tips! Just one per pencil does the trick.
- #5 Piping Tip and piping bag – For making those little details that make the pencils look realistic. You could use a ziplock bag with the corner snipped off in a pinch (which is what I did the first time when I couldn’t find my piping tips… story of my mom life).
How to Make Cute Wafer Pencil Cookies
Step 1: Cut Your Wafers
Grab your wafer cookies and use a sharp knife to carefully cut one end at an angle on both sides.
Step 2: Melt Chocolates
Next, we need to melt those chocolate wafers.
Follow the package directions – I usually do 30 second bursts in the microwave, stirring between each.
Pro tip: don’t rush this part or you’ll burn the chocolate and have to start over.
Step 3: Fill Your Piping Bags
Now for the fun part! Fill your piping bags with the melted chocolates.
We used a #5 tip which worked perfectly but you could go smaller with a #3 if that feels easier for you.
If you’re like me and can never find your piping tips when you need them, a ziplock bag with a tiny corner snipped off works too!
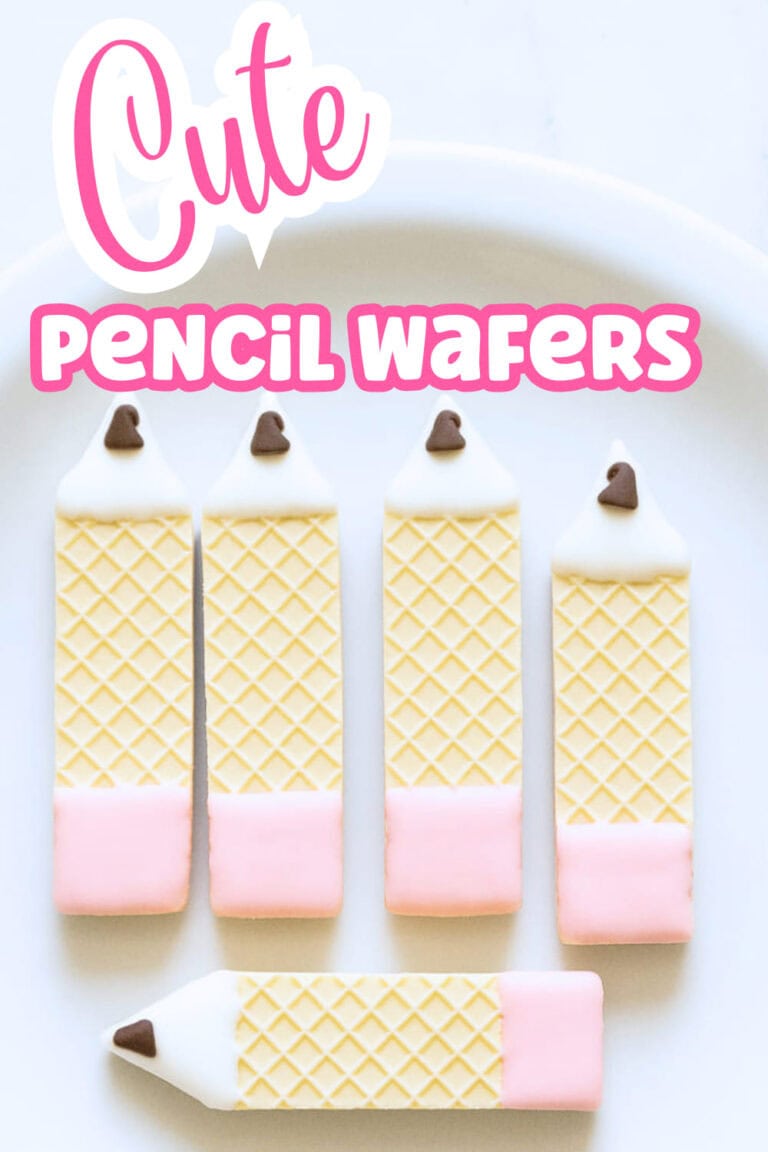
Step 4: Create the Eraser Part
Time to create the pencil “eraser!”
Pipe the pink melted chocolate onto the flat end of the wafer, filling in about 1/4 of the cookie.
Then give it a gentle shake back and forth to smooth it out.
Be careful not to shake too hard though or you’ll end up with pink chocolate all over your shirt (not that I’m speaking from experience or anything…).
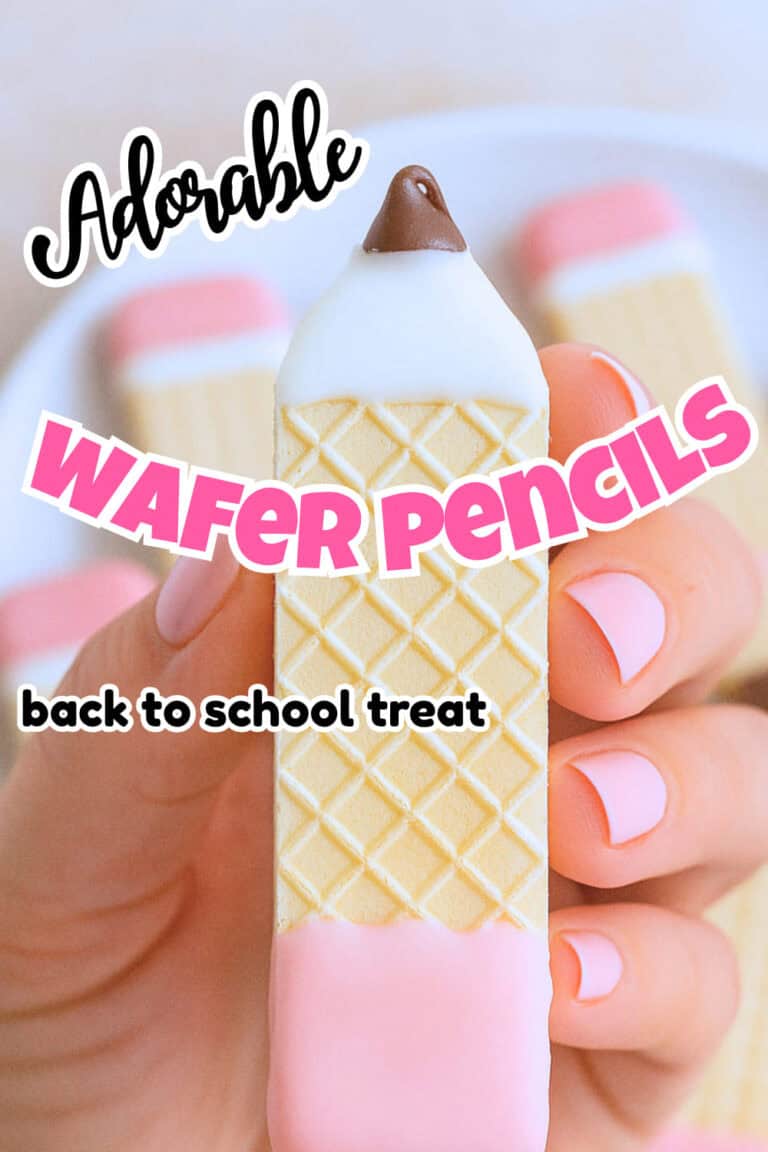
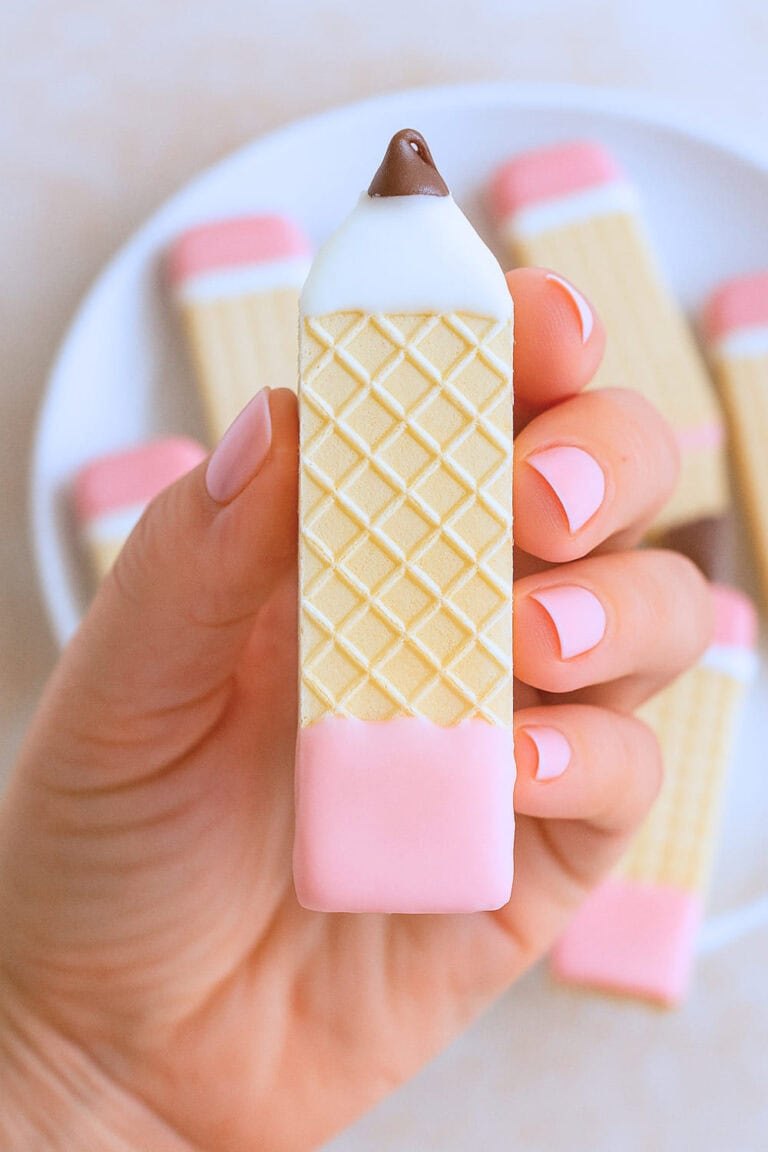
Step 5: Add the White Part for the Lead Tip
For the pencil tip, pipe the white chocolate in a triangle shape on the pointed end. Give it another gentle shake to smooth it out.
Step 6: Add the Pencil Tip
Last but not least, while the white chocolate is still wet, place a mini chocolate chip right at the very tip for the pencil “lead.”
Work quickly here! The first time we made these, we got distracted talking about the first day of school outfits and our chocolate hardened before we could add the chips.
Let everything harden completely before moving them. We usually make these the night before we need them so they have plenty of time to set.
And that’s it! Pack it with a lunch and send it off as a treat for your kids for back to school!

Ingredients
- Vanilla Wafers
- Bright White Chocolate Melting Wafers
- Light Pink White Chocolate Melting Wafers
- Mini Chocolate Chip
- # 5 Piping Tip and piping bag
Instructions
- Cut one end of wafer at angles on both sides to make a point.
- Melt chocolate wafers according to package directions.
- Fill piping bags with pink and white melted chocolate (tip #5 works great).
- Pipe pink chocolate on bottom section for the “eraser” and shake gently to smooth.
- Pipe white chocolate in triangle shape on pointed end and shake to smooth.
- Quickly add mini chocolate chip to tip for the “lead” before chocolate hardens.
- Let set completely before packing in lunch boxes!