These little chocolate-dipped cookies were actually my daughter’s idea after we spotted some teacher appreciation treats online.
She immediately started planning her next Cute Finger Foods Series creation and how we could make our own version that was “cuter and tastier” (her exact words!).
I love how her creative little mind is always thinking about ways to transform ordinary snacks into something special.
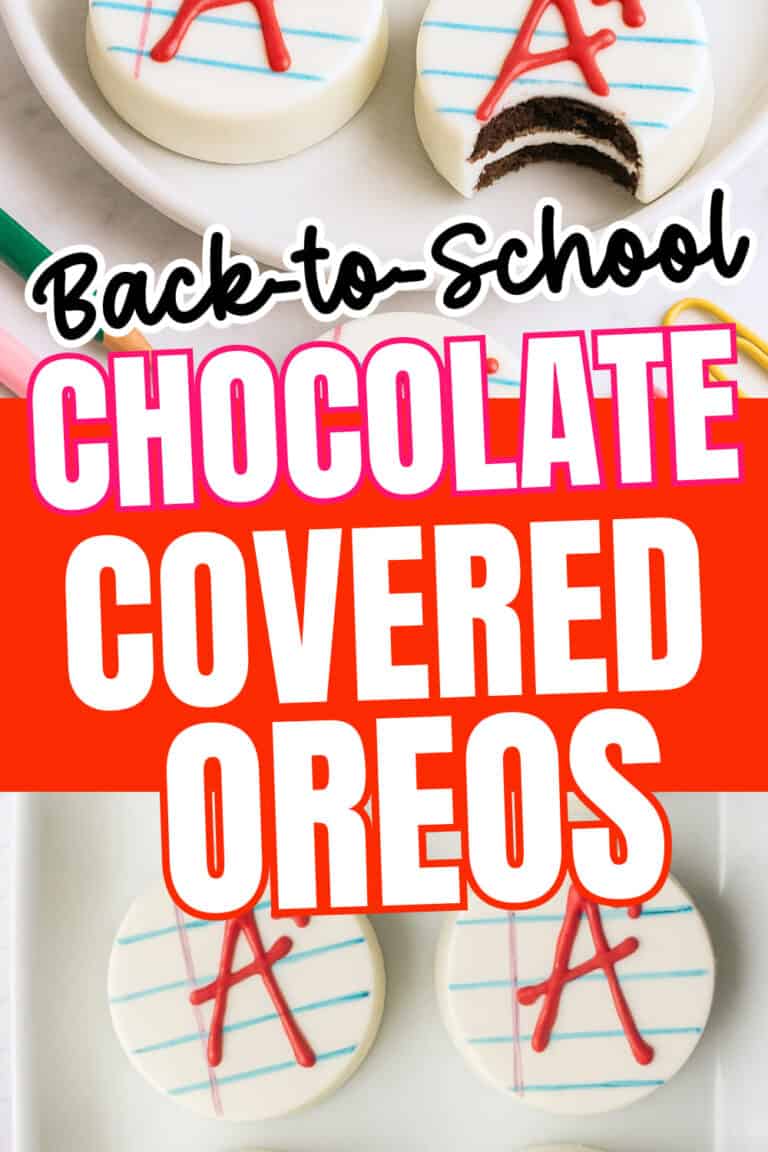
What makes these A+ Oreos so fun is how simple they are to make, yet they look like you spent hours on them.
These A+ Oreos have quickly become our traditional back-to-school treat.
My girls love helping make them almost as much as they love eating them!
They’re the perfect way to sweeten the transition from summer freedom to school schedules and make that first day just a little more special.
So while I’m still holding onto these last precious days of summer, at least we have these adorable treats to look forward to when the school bells start ringing again!
Ingredients for A+ Covered Oreos

- 1 package of Oreo cookies – Regular Oreos work best for this
- 12 oz white candy melts – These melt so much smoother than white chocolate chips and harden beautifully.
- Red and blue edible food gel coloring or marker – The gel colors work much better than liquid food coloring which can make the candy melts seize up. An edible marker for the blue paper lines looks the best though.
- Red cookie icing or red candy melts – For creating the “A+” design. The squeeze bottles of cookie icing are super easy for kids to use, but you can also use melted red candy melts in a piping bag if you prefer.
How to Make Covered Oreos for Back to School
1. Melt That Beautiful White Chocolate
Start by placing your white candy melts in a microwave-safe bowl that’s deep enough for dipping.
Heat them in 30-second intervals, making sure to stir well between each burst.
This prevents the chocolate from burning.
Continue this gentle melting process until you have perfectly smooth, silky white chocolate with no lumps.
2. Time to Dip Oreos With Chocolate
Balance each Oreo on a fork and dip it completely into the melted chocolate.
Let the excess drip off (this takes patience – something my girls are still working on!) before placing it on a parchment-lined baking sheet.
I’ve found that slightly twisting the fork helps release the cookie without messing up the chocolate coating.
3. Let Chocolate Covered Oreos Set Up
Place your chocolate-covered oreos in the refrigerator for about 10-15 minutes until they’re completely firm.
This cooling time is crucial.
While they chill, this is the perfect time to clean up any chocolate disasters and prepare your decorating supplies!
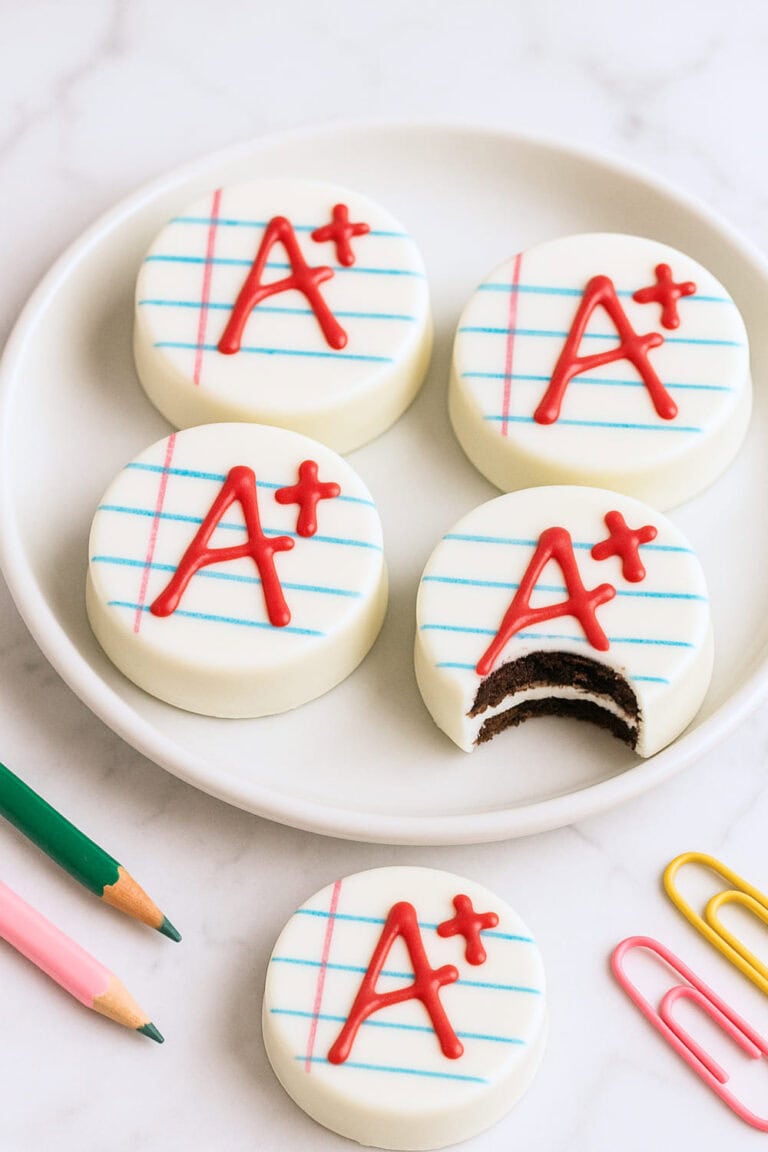
4. Create That Classic Notebook Paper Look
Once the chocolate has set completely, use a blue edible marker to carefully draw 3-4 horizontal lines across each cookie.
These represent the lined paper we all remember from school!
Then add one vertical line on the left side using a red edible marker to create that classic notebook margin.
5. Add That Perfect “A+” Grade
Use red cookie icing or melted red candy melts in a piping bag to write a bold “A+” on each cookie.
If your kids are helping with this part, you might want to practice on parchment paper first.
6. Allow Icing to Dry
Allow the icing to dry completely before handling, stacking, or packaging your cookies. This usually takes about an hour at room temperature.
Once dry, these treats can be stored in an airtight container at room temperature for up to a week.
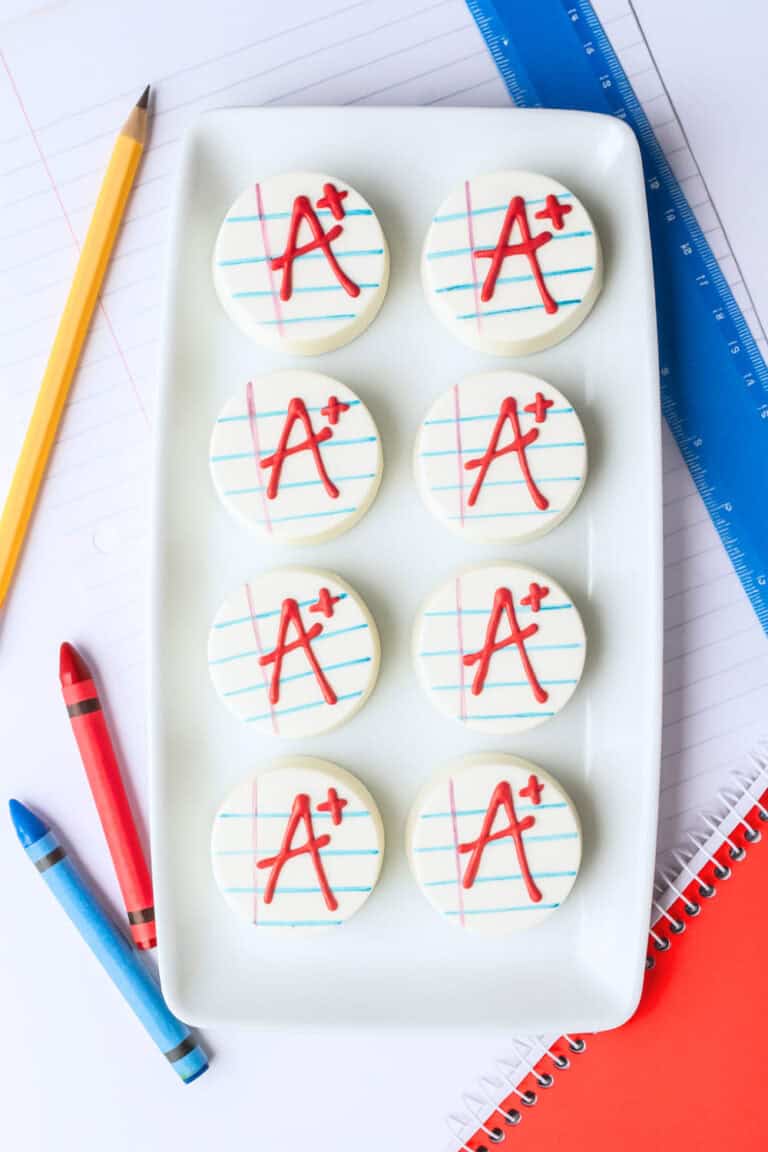
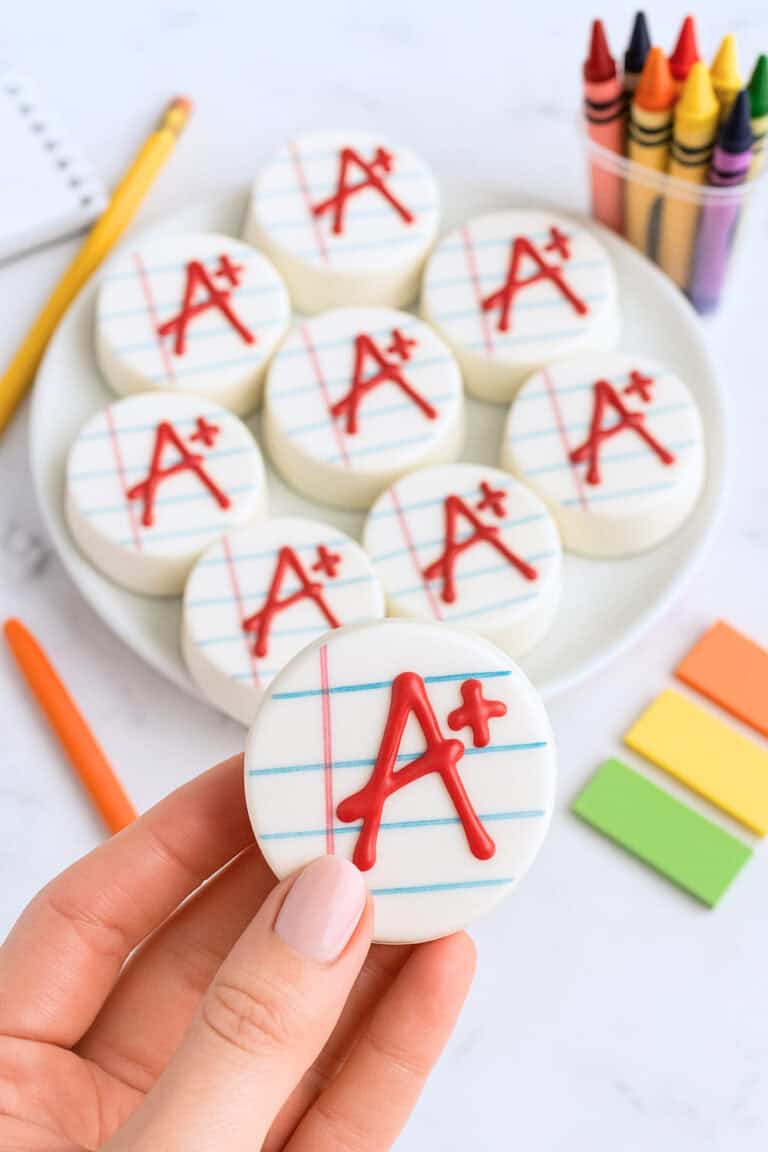
So Cute!
These back to school Oreos are the cutest! With some wafer pencils and Rice Krispy rulers, you have a fun aesthetically pleasing snack!

Ingredients
- 1 package of Oreo cookies
- 12 oz white candy melts
- Red and blue edible food gel coloring
- Red cookie icing or red candy melts
Instructions
- Microwave your white melting wafers in a bowl, 30 seconds at a time, stirring until smooth.
- Dip each Oreo into the melted chocolate using a fork. Tap off excess and place on a parchment-lined tray.
- Refrigerate the dipped Oreos for 10–15 minutes until firm.
- Use a blue edible marker to draw 3–4 horizontal lines across the cookie.
- Use a red edible marker to draw 1 vertical line on the left side (like notebook paper).
- Use red cookie icing (or melted red candy melts in a piping bag) to write a large “A+” on each cookie.
- Let the icing dry fully before stacking or packaging.
- Store in an airtight container at room temp for up to a week.